Building partnerships through collaboration.
Splitting Contract and Non-Contract Items in a Cart
Before proceeding to checkout, you have to separate the contract and non-contract items in your cart.
How to Split Contract and Non-Contract Items in a Cart
Split Contract and Non-Contract Items in a Cart [2:46]
1. Identify Contract Items in Cart
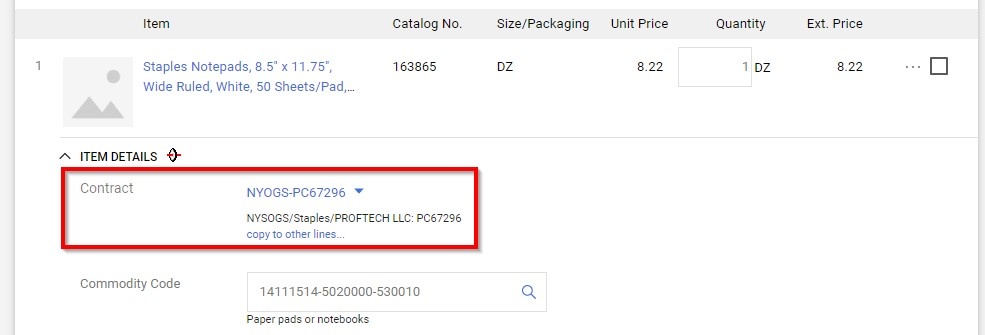
After you have completed your shopping with a hosted or punch-out supplier, you will be brought back to your cart, where you can view your items. Before moving onto “Proceed to Checkout,” it is important that you separate your contract and off contract items. Items under contract will display the contract number and details in theItem Details section (Figure 1)
2. Select Non-Contract Items in Cart
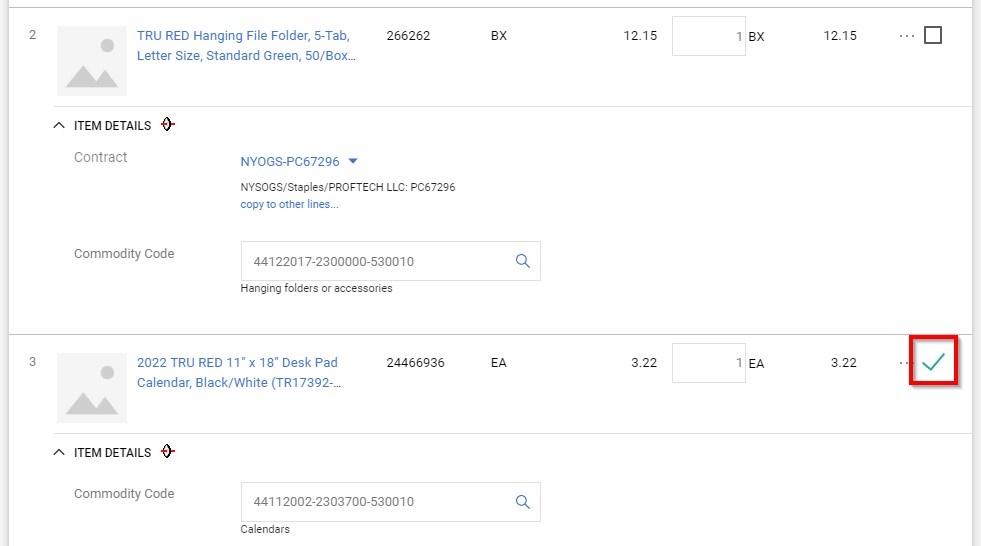
In your Shopping Cart, select the box to the right of item(s) that do not have a contract number associated (Figure 2).
3. Move Non-Contract Items to Another Cart
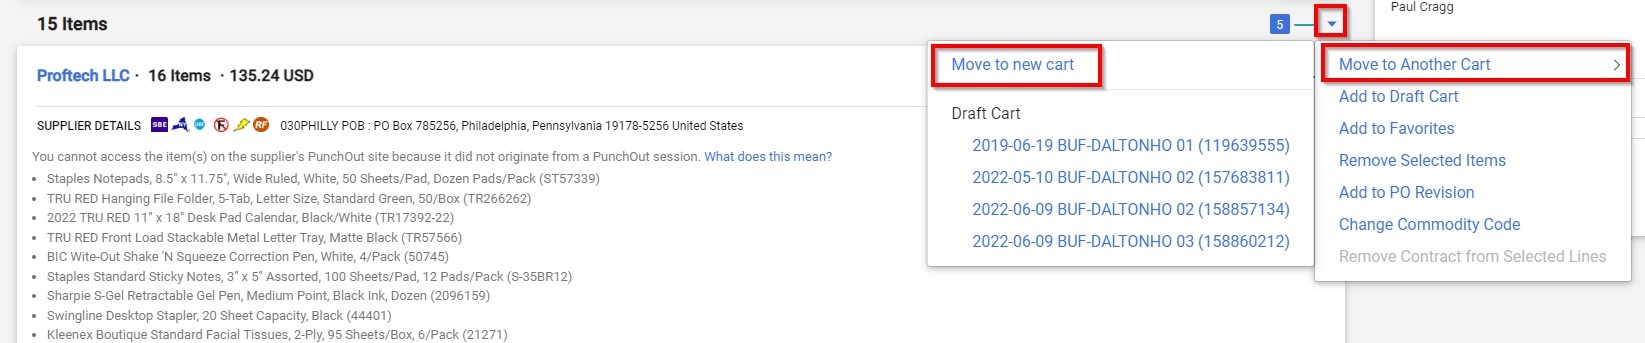
Once all the non-contract items are selected, from the action dropdown menu, select, “Move to Another Cart”. Then select “Move to new cart” (Figure 3).
4. Proceed to Checkout
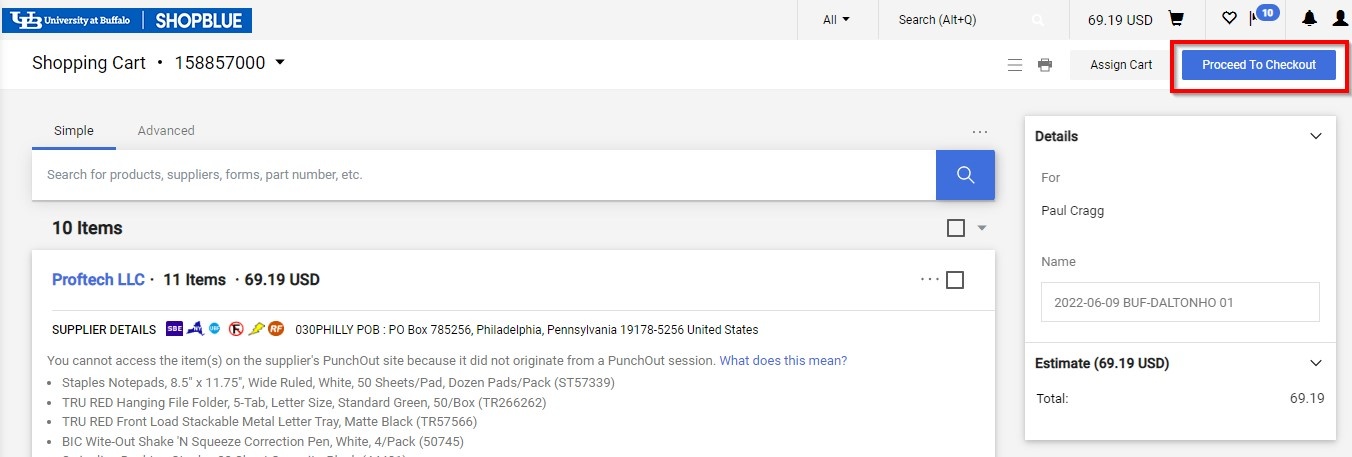
You will notice that the only items left in your cart now are on contract items. To order these items, you will click “Proceed to Checkout” and complete the requisition process as you normally would (Figure 4).
5. Return to Shopping Home Page
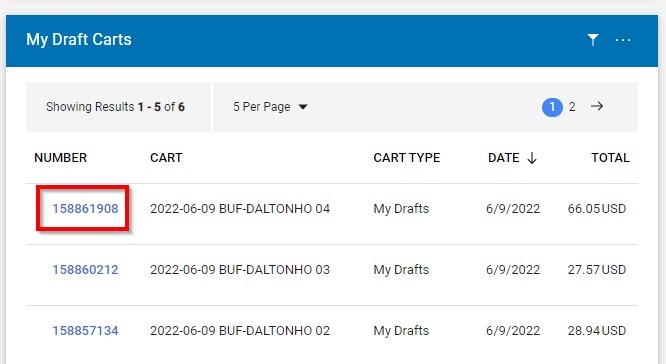
To continue ordering the non-contract items, return to the Shopping Home page. Scroll down to “My Draft Carts” section and select the appropriate cart (Figure 5).
6. Verify Items and Proceed to Checkout
Once the cart has opened up and you have verified that it is the cart you would like to order, click “Proceed to Checkout”and complete the requisition process as you normally would.
Need help or have questions?
Visit our Business Services Support Hub to submit and track requests and access helpful resources.