Building partnerships through collaboration.
Adding Multiple Ship-To Locations
Add multiple ship-to locations in ShopBlue.
How to Add Multiple Ship-to Locations
Adding Multiple Ship-To Locations [1:22]
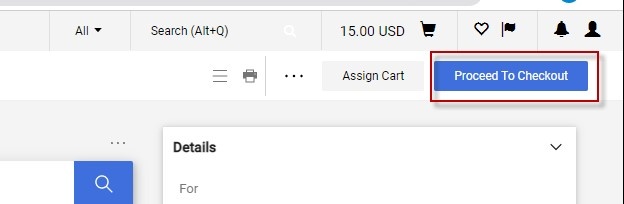
1. Proceed to Checkout
When you have completed shopping and are ready to check out, click “Proceed to Checkout” from your shopping cart (Figure 1).
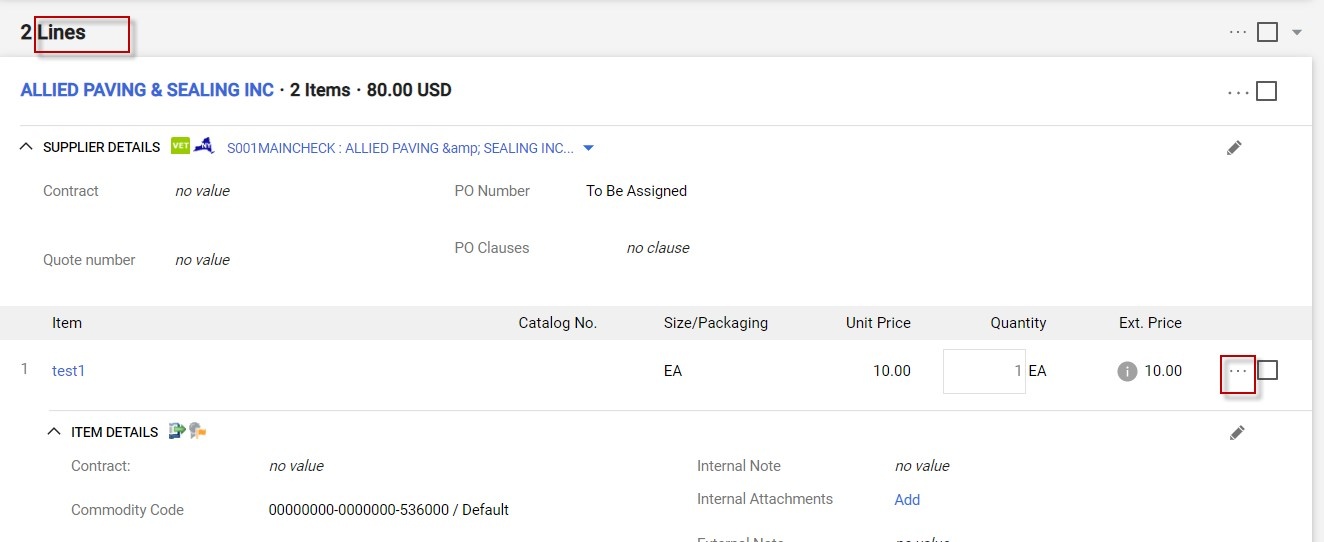
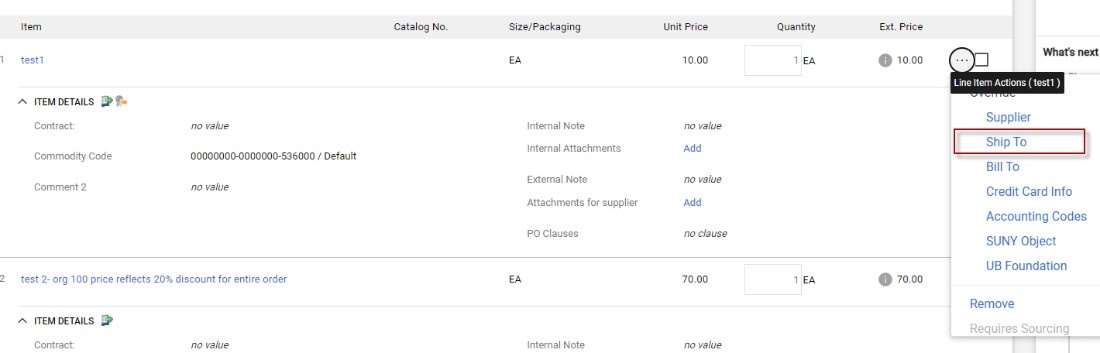
2. Change the Ship-to Location
Under the “Lines” section, select the Three Dots, then select “Ship To” to change the ship-to location for that line (Figure 2 & 3).
Note: the ship-to location for each line will automatically default to be the same as the ship-to on the header of the requisition.
3. Edit Ship-to Location Information
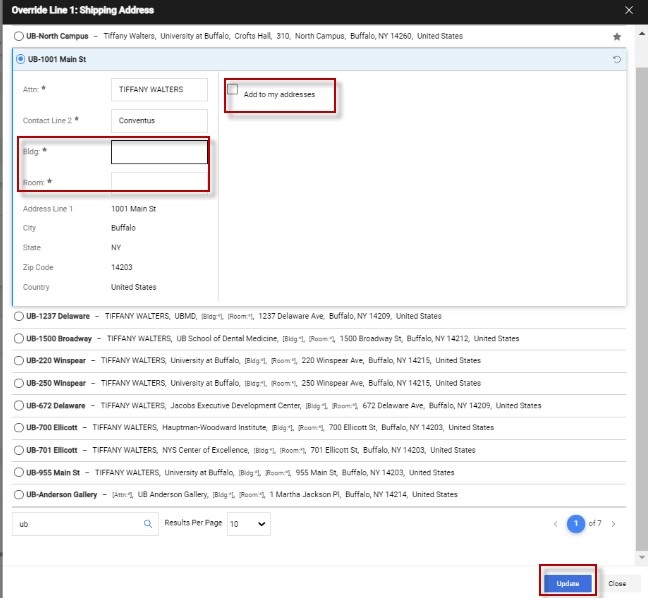
A pop-up will appear. Here you can edit ship-to information. You can either edit the address details where an asterisk is located or choose from another addresses. (Figure 4).

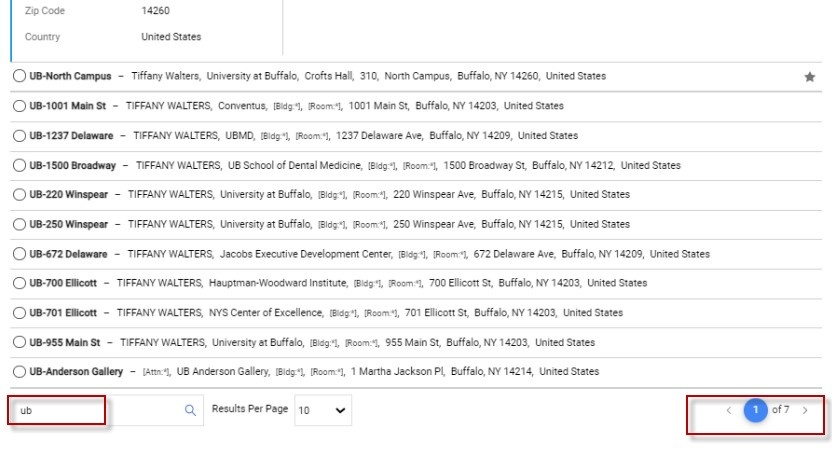
5. Search and Select an Address
If you need to choose from another address type “UB” in the search field, then click the Magnifying Glass to locate the address you are seeking (Figure 5).
Note: you may have to look on different pages for the desired location.
6. Enter Address Details
Once you have selected the address, you will need to input Bldg. and Room information. You may also save the address. Select “Update” when the appropriate address has been entered (Figure 6).
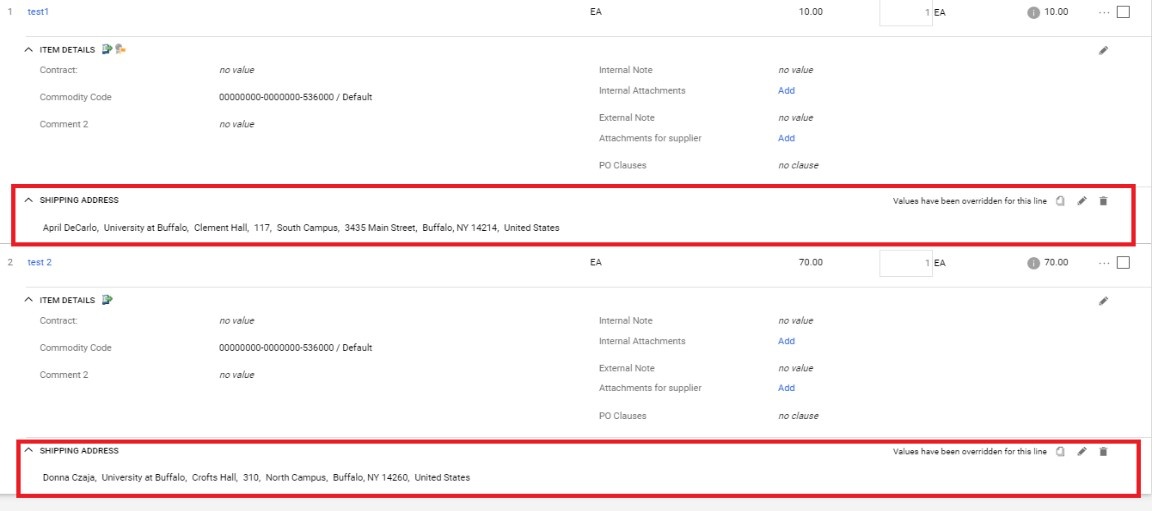
7. Review Updated Ship-to Information
After you have changed the ship-to addresses for the appropriate lines, the header ship-to will be removed, and the updated ship-to locations will appear on the corresponding lines (Figure 7).
Need help or have questions?
Visit our Business Services Support Hub to submit and track requests and access helpful resources.