Building partnerships through collaboration.
Place an Order
The ordering process in the Print Services Ordering System is the same for any print product you are ordering, for example, selecting the product and defining your specifications based on that product.
How to Place an Order
1. Log in to Print Services Ordering System
- Go to Print Services Ordering System. (Figure 1)
- Click Log In. USER ENROLLMENT INFORMATION displays. (Figure 2)
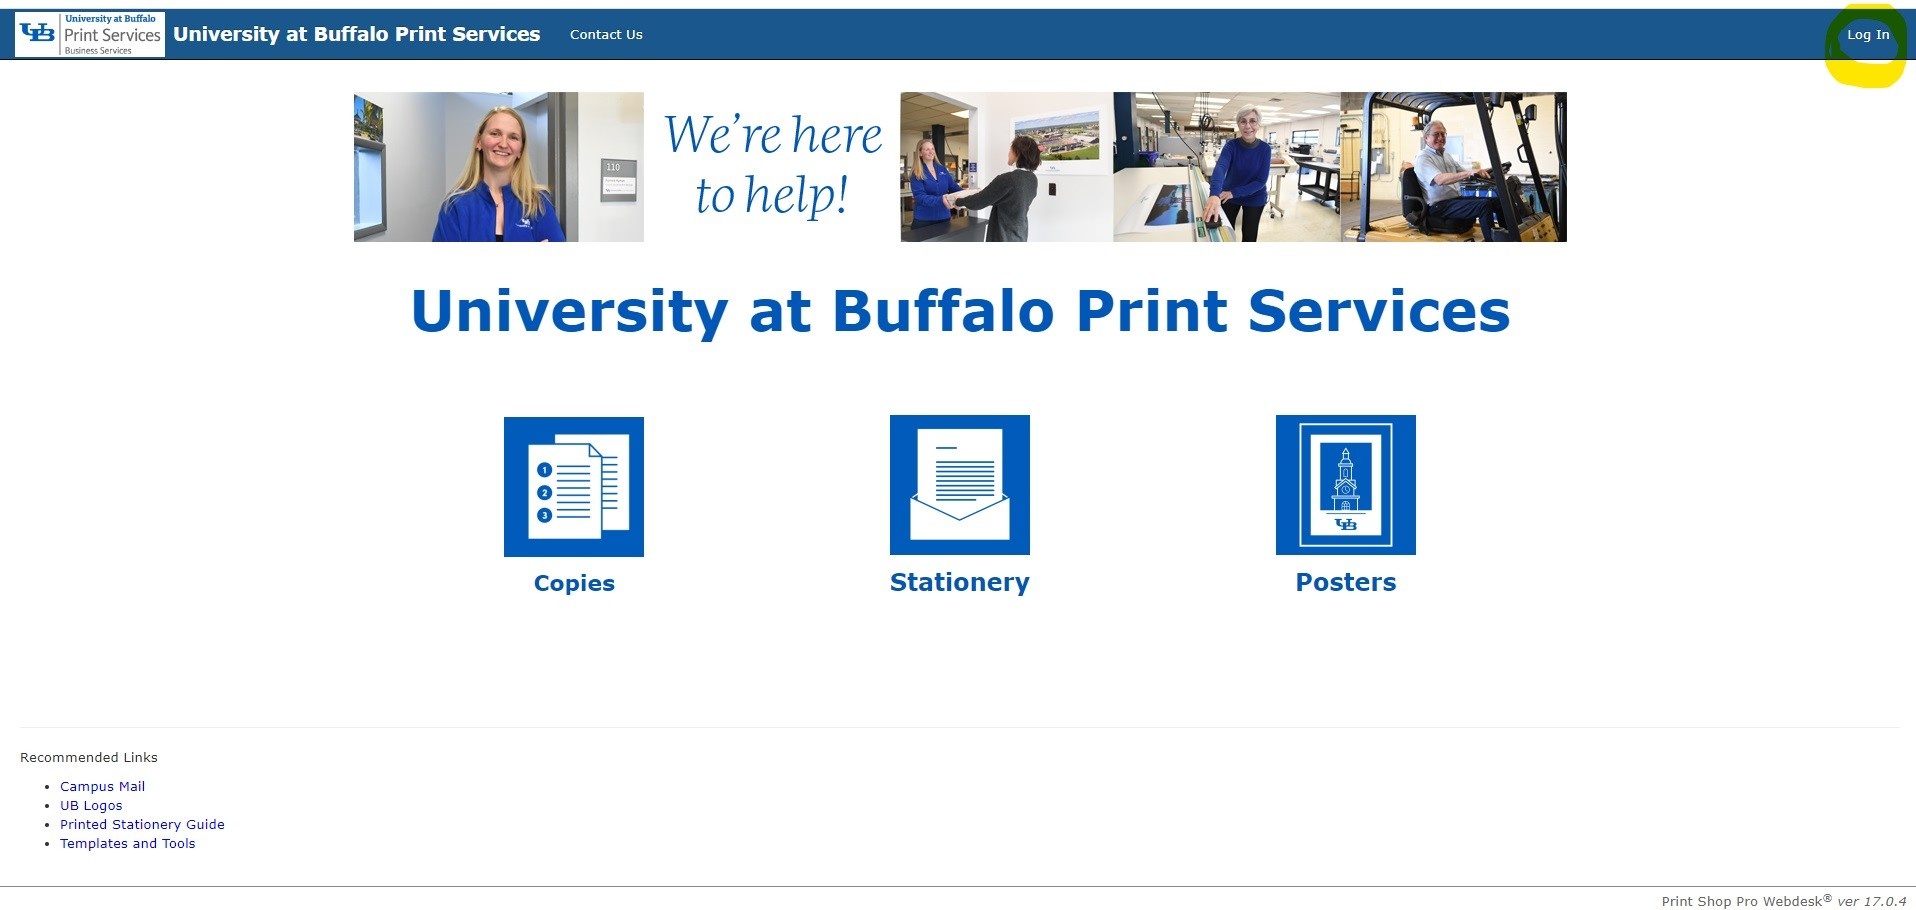
Figure 1

2. Click the appropriate button according to your UBITName status
- If you have a UBITName (i.e., UB faculty, staff and students), click Login Using Your UBIT Account.
- If you do not have a UBITName (i.e., Kaleida, Roswell, and other medical users, etc.), click No UBIT Account.
- After you make your selection, Profile Details displays.
- If you have a UBITName (i.e., UB faculty, staff and students), click Login Using Your UBIT Account.
- If you do not have a UBITName (i.e., Kaleida, Roswell, and other medical users, etc.), click No UBIT Account.
- After you make your selection:
- For UBIT users, enter your UB SSO (single sign-on) credentials to login, or if already logged in your username now displays where the Log In link used to be.
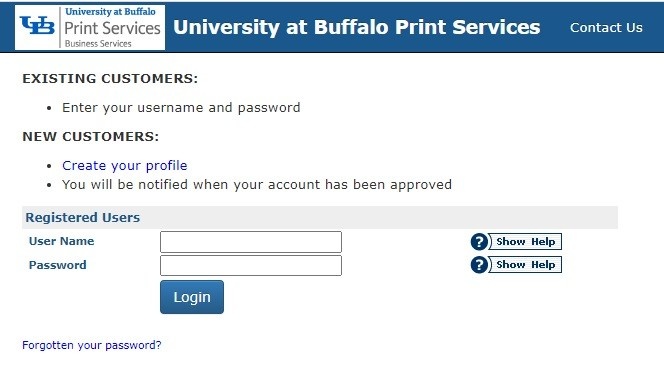
- For non-UBIT users, the Existing Customers/New Customers displays. Log in with the login credentials that you defined when you created your account. (Figure 3)
3. View Available Products and Options
- Once logged in, from the homepage either click the quick-access tile for your product of interest (i.e., Copies, Stationary, or Posters) or from the New Order menu on the main navigation bar select a product (i.e., Printing Orders, Business Cards, Stationary or Mailing). Ordering options for the product selected displays. (Figure 4)
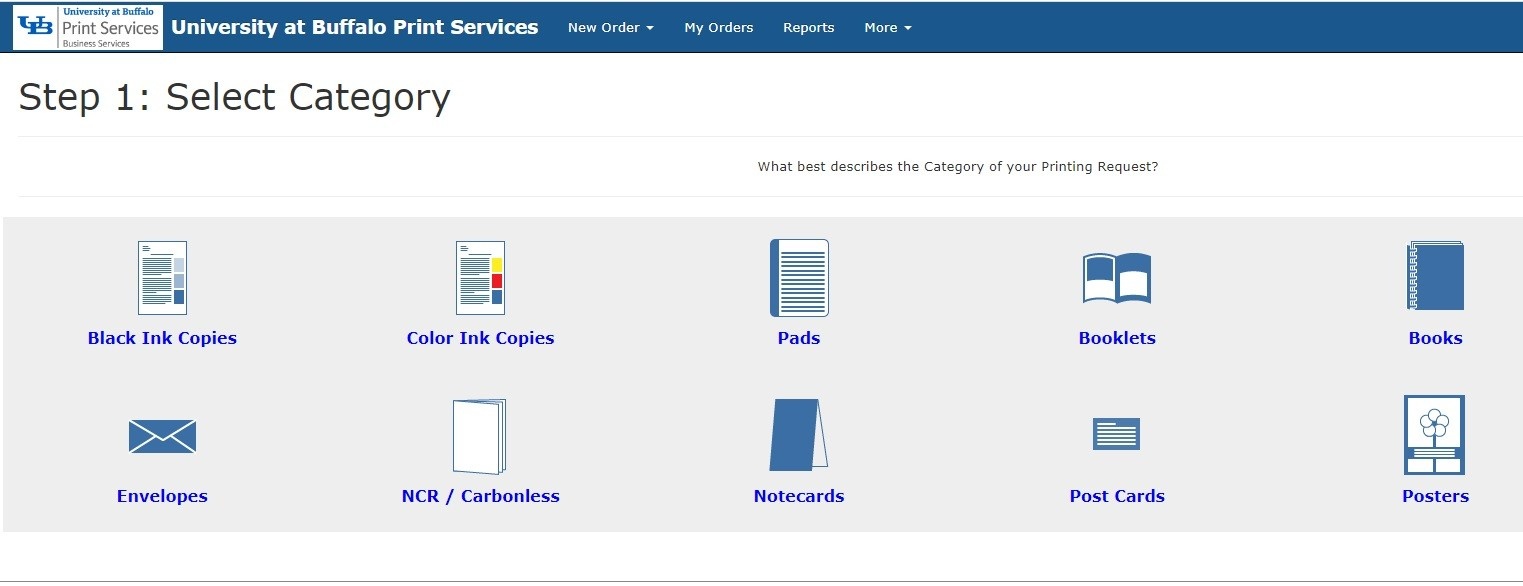
- Click the product option of interest. Specifications for the product option of interest are displayed.
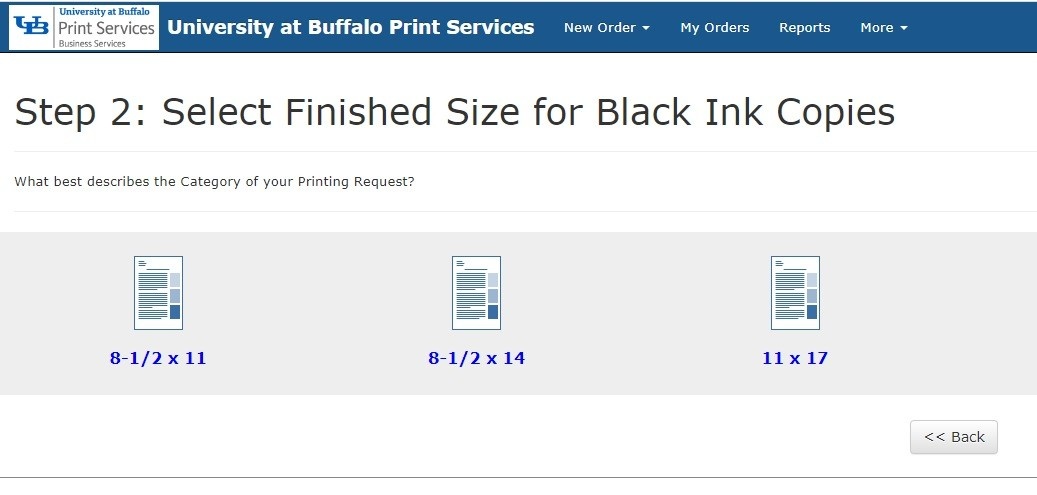
- Most products display Finish Size options next (Figure 5). Click the preferred size for the product selected and the Print Order Information form displays. (Figure 6)
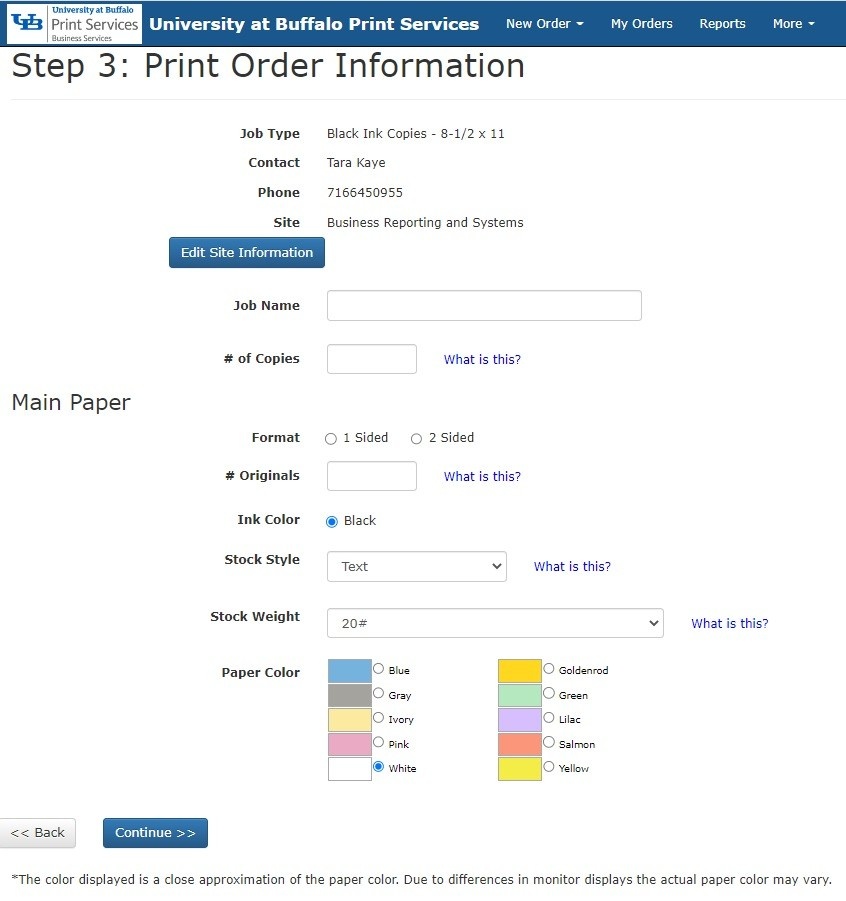
4. Complete the Order Details
- Complete the Print Order Information form per your desired specifications and click Continue:
- For Job Name: For easier ongoing order tracking purposes, name your job so it is readily identifiable in your list of print orders:
- Example of a good job name: Animal Science Lab Midterm Study Worksheet Copies
- Example of a poor job name: Worksheet Copies
- For # Originals: Be sure to enter the number of printed sides of the original document, NOT the number of files. Entering the number of files can result in an inaccurate quote estimate:
- Example of a correct way to enter # Originals: One file with six front-and-back pages with “12” entered in # Originals.
- Example of an incorrect way to enter # Originals: One file with six front-and-back pages with “1” entered in # Originals.
- Example of a correct way to enter # Originals: One file with six front-and-back pages with “12” entered in # Originals.
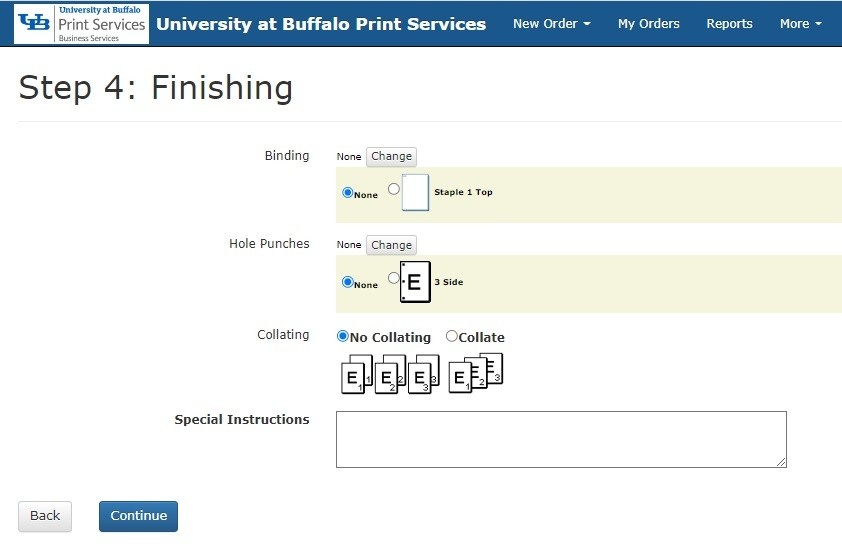
5. Select Finishing Options
- Most products display Finishing options next (Figure 7). Select the preferred finishing options for the product selected and click Continue. Attach Files displays.
- If you don’t see what you are looking for as an option in any part of the process, tell us what you want in Special Instructions on the Finishing options screen. Remember that pricing is an estimate and any special instructions will be reviewed by Print Services and the estimate will be updated accordingly for the final invoice.
6. Attached Supporting Files
- Most products display Attach Files next (Figure 8). Click Upload File, navigate to the file location on your computer, and select it to upload to the order. Complete the form acknowledgment and click Attach File. A preview of the uploaded file displays.
- If job materials need to be supplied instead of or in addition to a file upload, select No - Skip Attaching a File and indicate that materials will be dropped off at Print Services in the Special Instructions field in the Finishing section of the process.
- The No - Skip Attaching a File button can be used to generate an estimate quote if you do not have a complete file yet. See How to Create a Print Order Estimate Quote for more information.
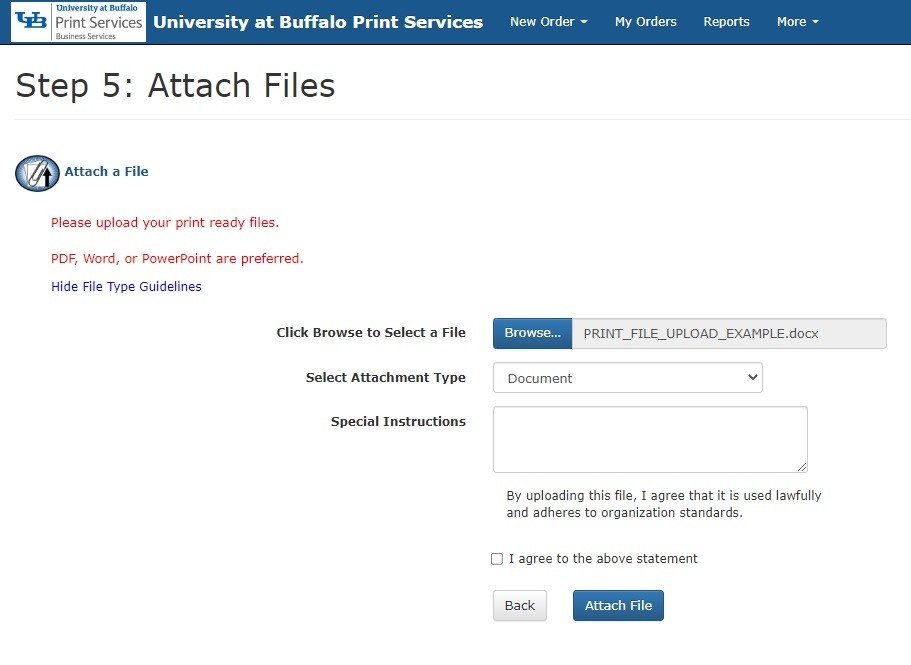
Be sure to attach the correct file! Incorrect files or not attaching a file at all may result in a delay to your order, as well as will impact estimate price accuracy.
- Review the file preview for accuracy and click the Close button. The Approve the Attached File screen displays. (Figure 9)
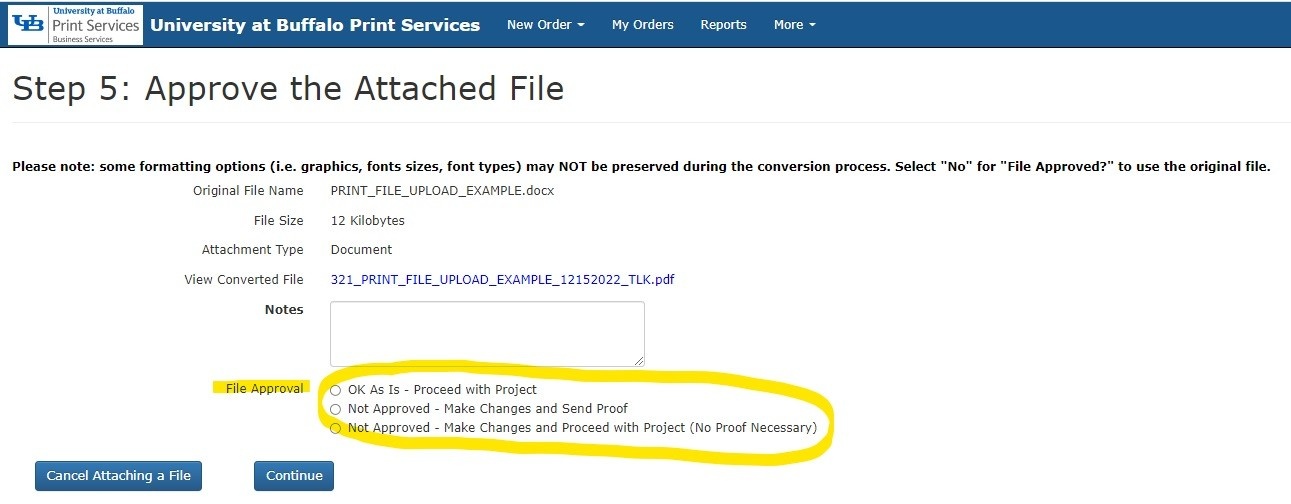
7. Review and Approve Attachments
- Review the Approve the Attached File screen for accuracy, make a selection in File Approval, and click Continue. The Attach Files screen displays again. Repeat and Attach Another File as needed, then click Continue when complete. The Billing and Delivery screen displays.
8. Complete Billing and Delivery Details
- Complete the Billing and Delivery form (Figure 10) with your billing information and shipping preferences, and click Finish. The Order Process Complete screen displays.
- Site: Site defaults to the site you selected when you created your print system account.
- Account Number: Enter your UB Account Number (i.e., State, RF or UBF).
- Account Number is a mandatory field. If you are paying by another method other than a UB account number, type the word “Other” into the Account Number field.
DO NOT ENTER CREDIT CARD NUMBERS in the Account Number field!
If paying with an alternate method, Print Services will contact you with a final invoice at which time you can pay via UB Marketplace, Campus Cash, or ACH Payment.
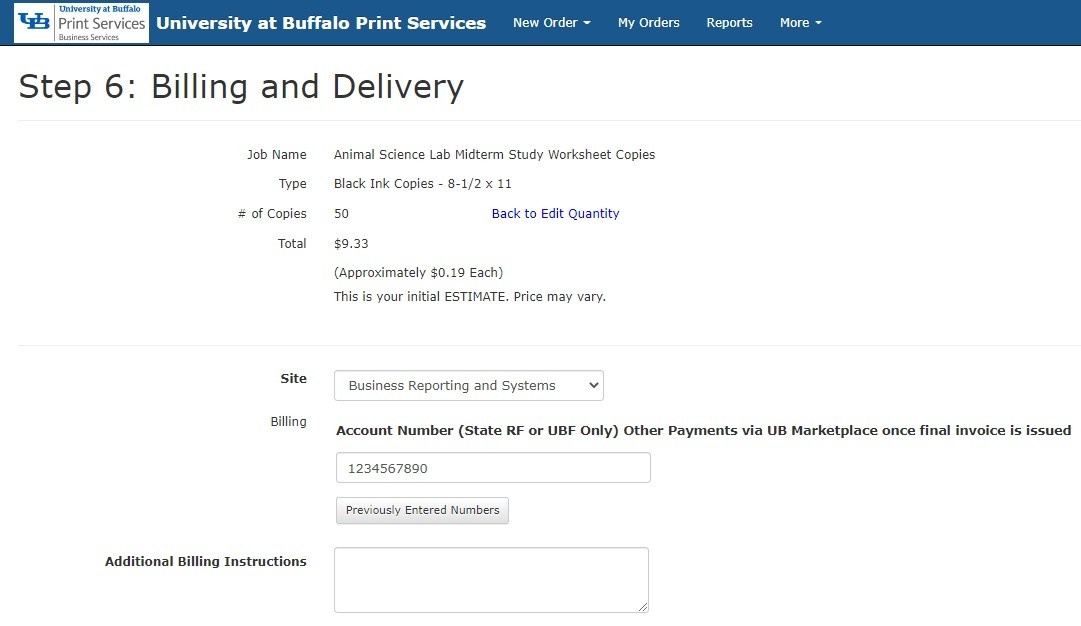
Figure 10
If you have ordered before, you may optionally use the Previously Entered Numbers to select an Account Number you have used in the past. (Figure 11)
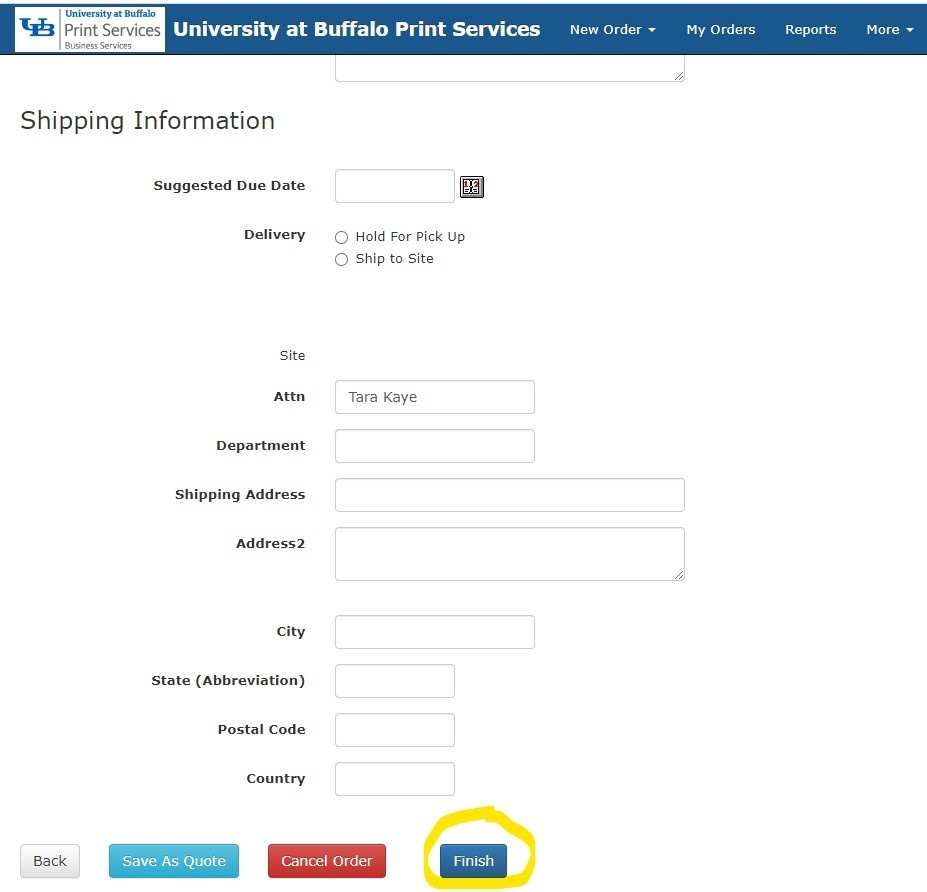
- Suggested Due Date: Select your preferred date. Based on the size and complexity of your order, it is subject to change. You will be notified by Print Services if we cannot meet your deadline.
- Delivery > Ship to Site: Ship to Site defaults to the shipping information you entered when you created your print system account.
- Delivery > Ship to Address: Ship to Address allows you to overwrite your profile Site address with any shipping address to which you want to deliver.
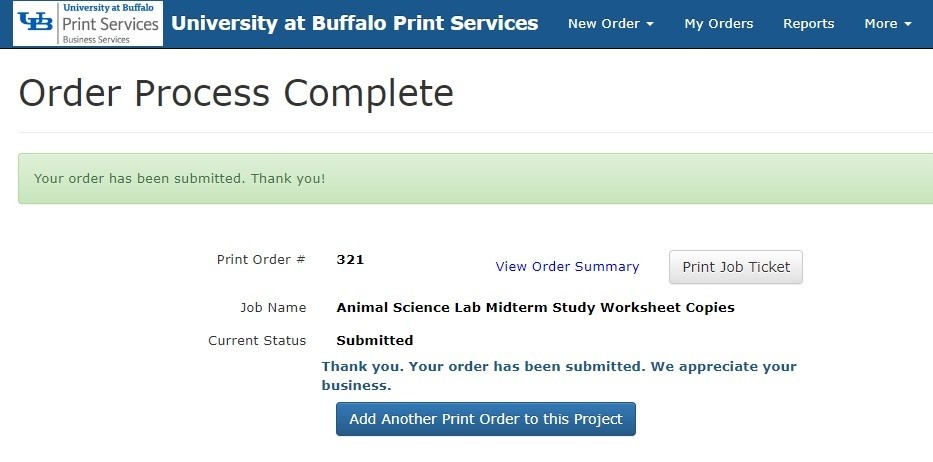
9. Review Complete Orders (Optional)
Your order has been submitted and you will receive an email to confirm submission. From the Order Process Complete screen (Figure 12), you can also optionally:
- View Order Summary: Click this link to generate your Order Detail. From there you can additionally Copy Order and/or Print Ticket as preferred.
- Print Job Ticket: Click this button to generate a printer-friendly version of your Job Ticket.
- Add Another Print Order to this Project: Click this button to create a Project that will bundle another order with this one so they can be shipped or picked up together:
- First, enter a Project Name for your bundle and optional Project Description, then click Continue to Add Print Order.
- Then complete the order process, and the order will be added to your Project bundle.
- Your order is now submitted. Print Services will contact you with any questions and/or if the price changes significantly after your order is reviewed.
- You can monitor the status of your order from My Orders on the main navigation menu. See How To Monitor Print Orders for more information. The price in your print order is an estimate. Once the order is reviewed by Print Services the actual price is determined.
- Standard print orders are typically processed and printed within one to three business days. Turnaround times for large and/or complex orders vary by order. Print Services will confirm an anticipated completion date on a case-by-case basis for these kinds of orders.
- Method of delivery may impact receipt of order. For quicker turnaround order pick-up is recommended.
If you need to cancel a submitted order, contact Print Services at printservices@buffalo.edu, based on where your order is in the production process, it may or may not be able to be canceled. You are liable for any charges for work already completed.
Order Your Print Job
Submit your order online and upload your files all in one place. Pay for your orders using UB account numbers, campus cash, or credit card via UB Marketplace.
Account number examples:
- State: 123456
- UB Foundation: 1234-123456
- Research Foundation: 1234567-1-12345
If you are working remotely or off-campus, you may need to connect to the UB virtual private network (UBVPN) to access these systems.