Connecting Your Android Device Wirelessly to a Technology Classroom Display or Group Study Room
Learn how to display content wirelessly from your Android device to a Technology Classroom display or group study room in the Libraries .
Operating System: Android
Last Updated: December 17, 2025
On this page:
Step 1: Download and Install Crestron AirMedia
This only needs to be done once.
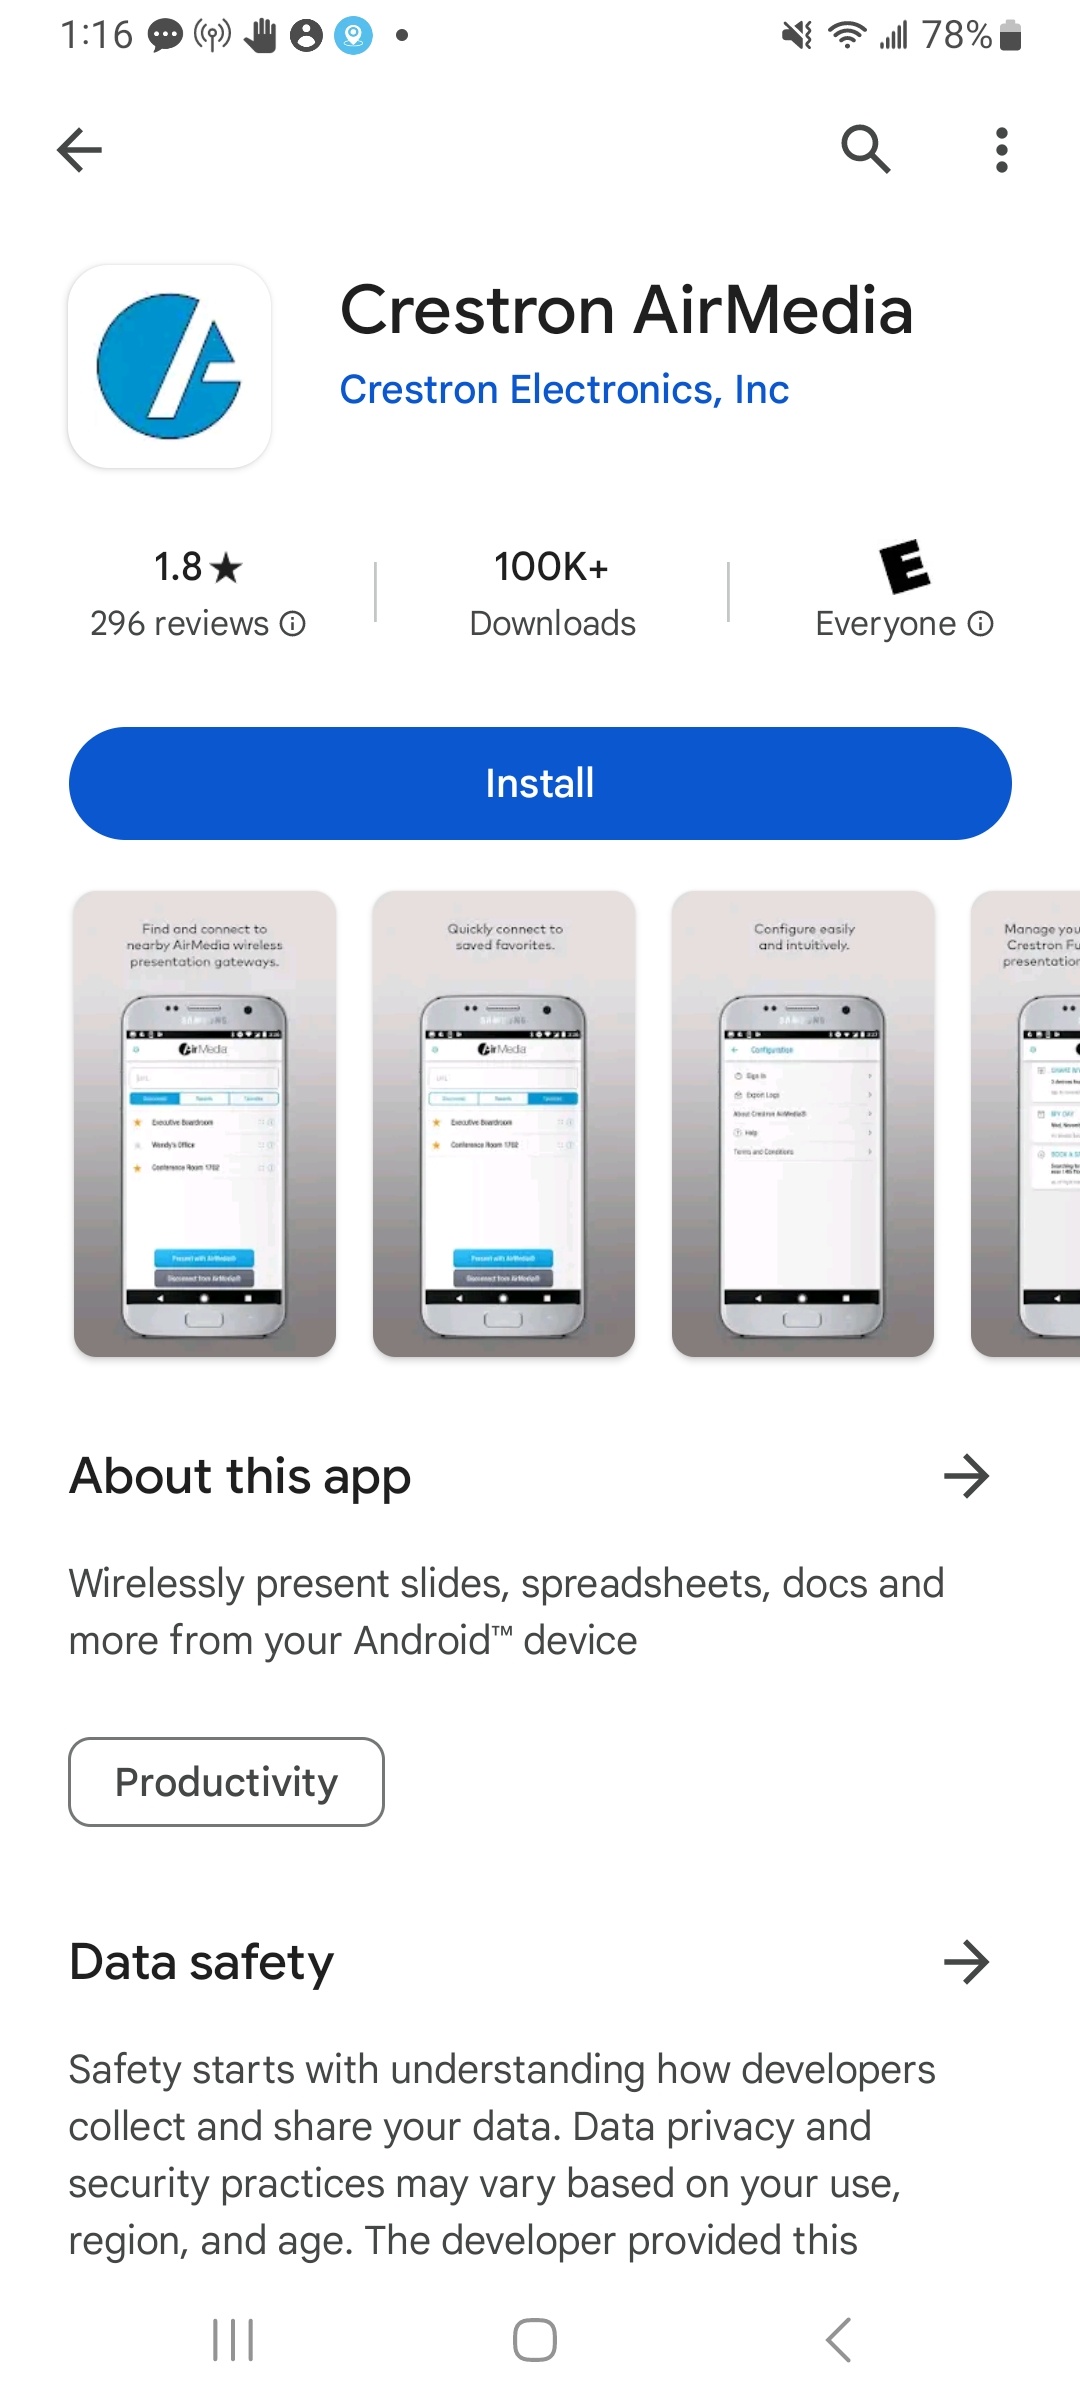
The Crestron AirMedia app needs to be installed on your device to present wirelessly. Download and installation take several minutes, so allow sufficient time before you need to use it.
In Google Play Store, search for Crestron AirMedia and get the app with the blue “A” icon:
If you cannot see the Crestron AirMedia app in Google Play, manually install the app
Under certain circumstances, the AirMedia app may not be available in the Google Play Store. You can install it manually. The following instructions are based on Android version 13. Consult Android documentation for instructions for other versions.
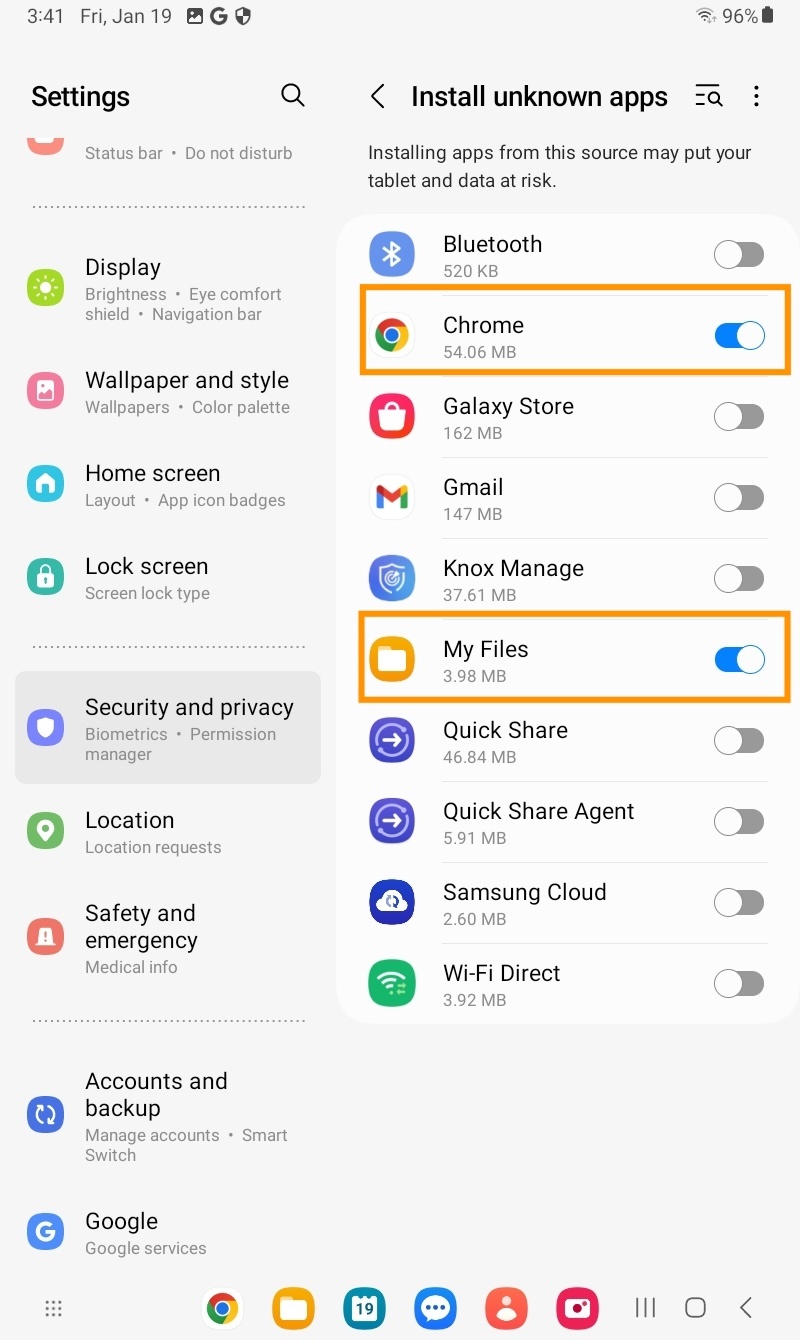
1. Update settings on your device:
- Go to Settings > Security & Privacy
- Select Install Unknown Apps
- Enable My Files, or the file manager you use on your device.
- Enable Chrome, or the web browser you use on your device
2. Download the AirMedia application .apk file to your device
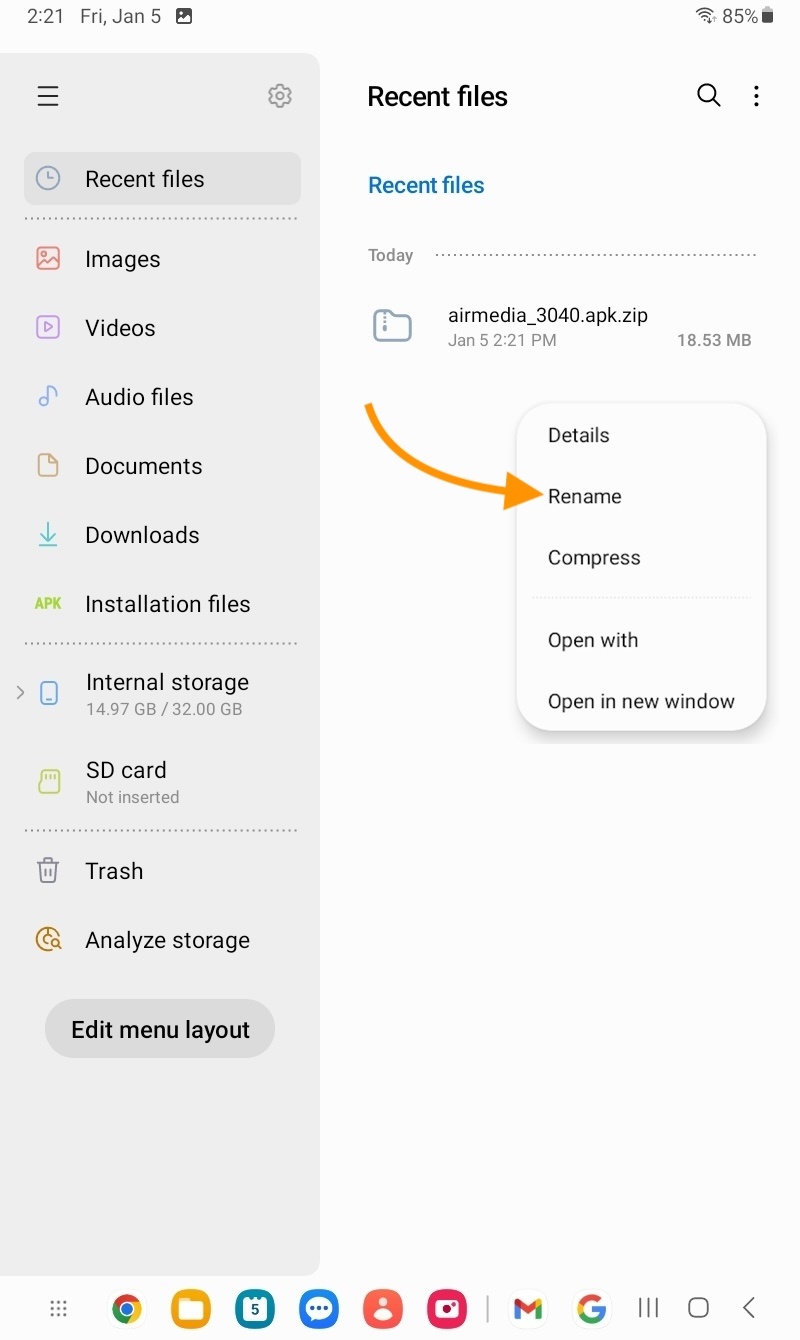
3. Go to My Files (or your file manager) on your device
4. Long-press the filename and change the extension from .apk.zip to .apk
5. Tap the filename
6. When prompted, select Install
Step 2: Connect to eduroam Wi-Fi
If your device is not already connected to eduroam, see Wi-Fi at UB for configuration instructions
Step 3: Mute the projector (Classrooms only)
On the Crestron touchscreen press Projector Video Mute to mute the projector so people in the room cannot see the code.
Step 4: Locate the IP Address and code
- On the teaching station Crestron touchscreen, select Wireless Presentation. An IP address will appear at the top of the Crestron touchscreen, along with a four-digit code

- In Library group study rooms, the IP Address is shown on the video display panel in the room.
Step 5: Connect to Crestron AirMedia
Each room has a unique IP address. Follow these steps each time you want to use Crestron AirMedia in a classroom or study room.
1. On your device, open the Crestron AirMedia app
- A pop-up may state “AirMedia would like to find and connect to devices on your local network”. Choose Allow.
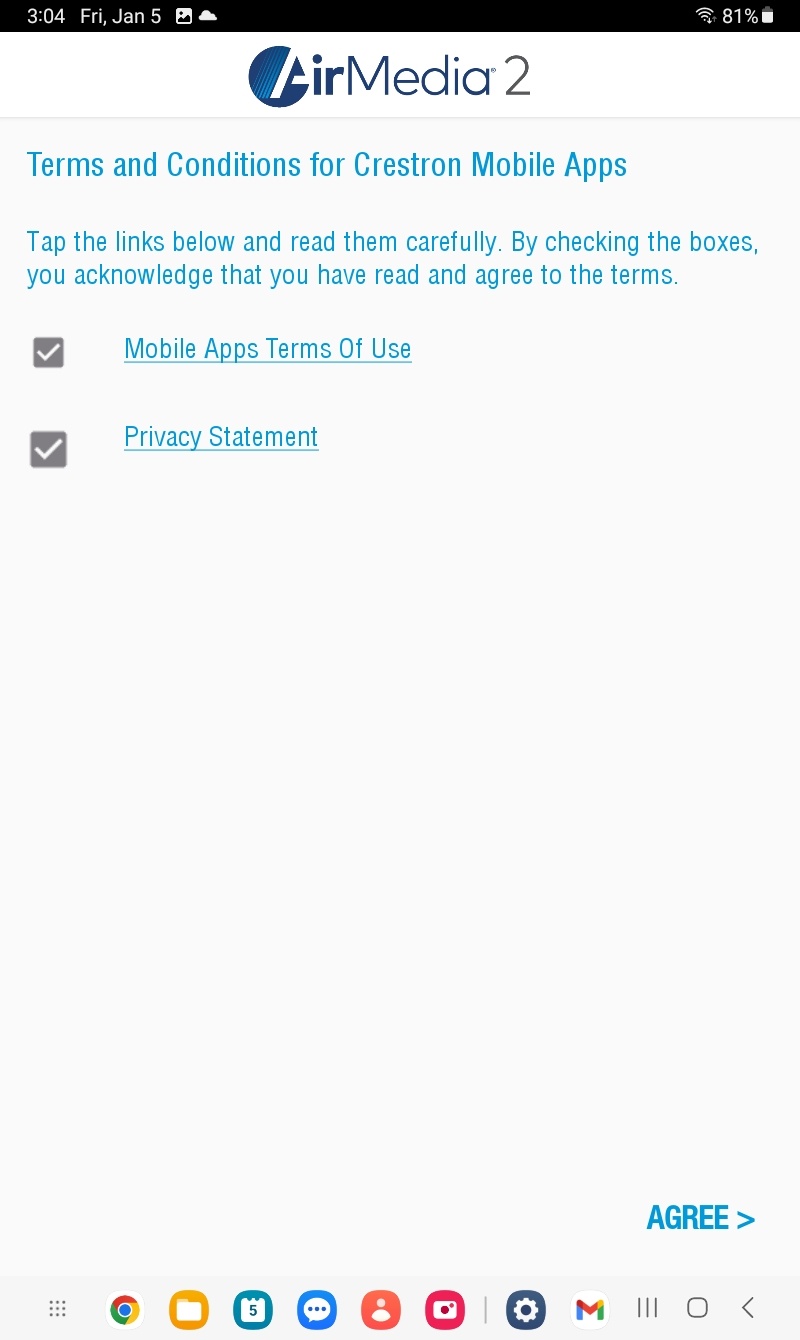
2. If it's your first time using the app, check both the Mobile Apps Terms of Use and Privacy Statement boxes, then tap Agree
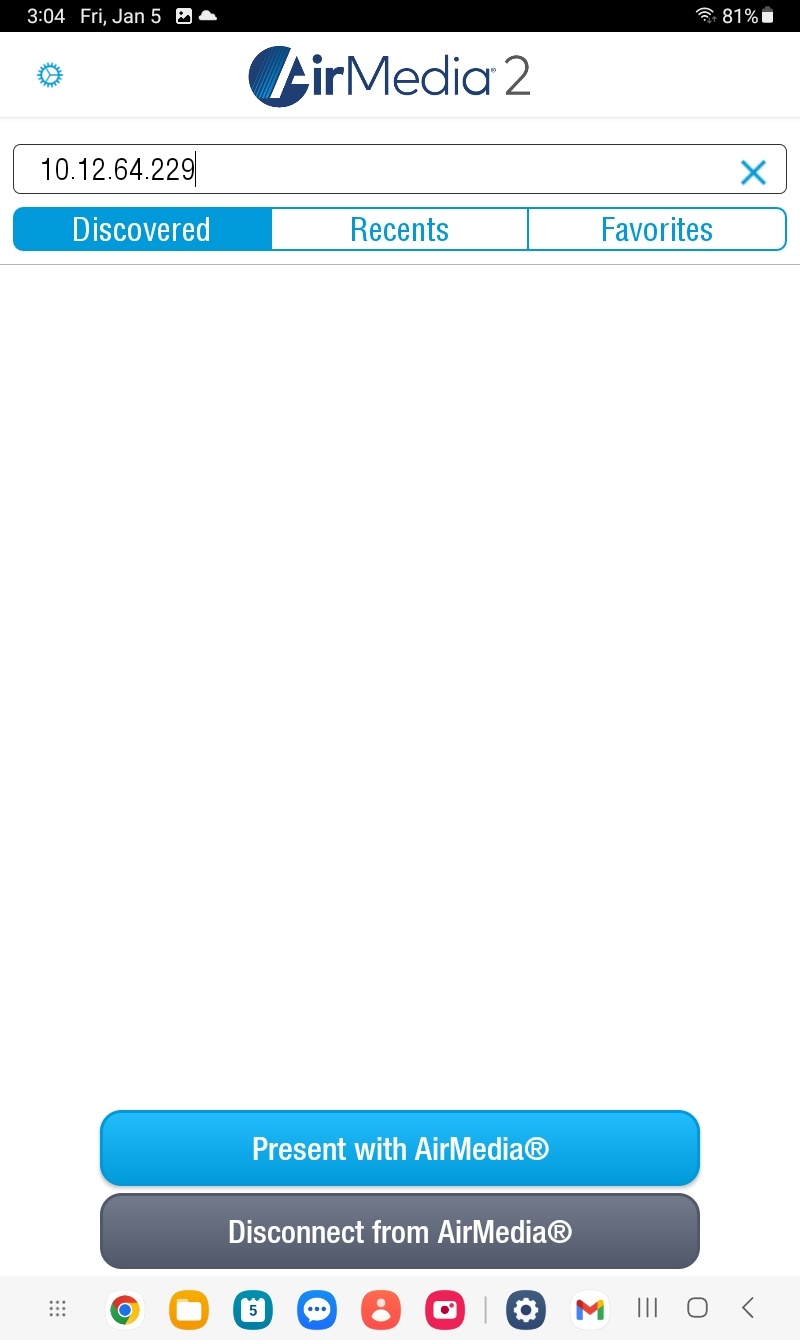
3. In the URL field type the IP address shown on the Crestron touchscreen or on the group study room's video display panel. Tap Done
You may need to add https:// before the numbers.
4. Tap Present with AirMedia. If you are in a study room, a warning screen will appear indicating your connection is not private or that there is a security risk. This is expected. Click through and accept the risk.
5. A pop-up will appear on your device allowing you to choose what to share. If you choose Entire screen everything on your screen will be displayed. Tap Start

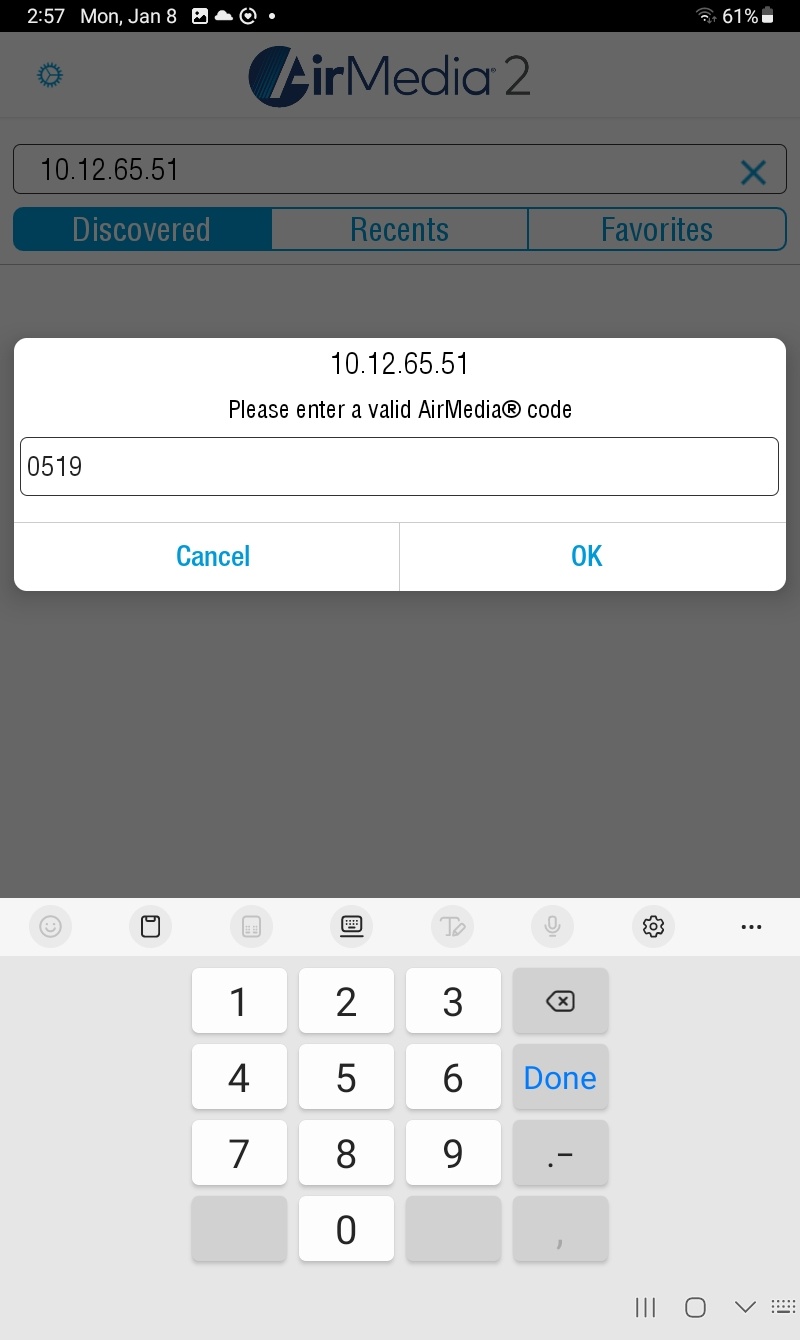
6. When prompted, enter the four-digit code from the Crestron touchscreen or study room display panel and tap OK
7. Your device screen will be mirrored onto the classroom screen
Step 6: Un-mute the projector (Classrooms only)
Press Projector Video Mute on the teaching station Crestron touchscreen to reveal the mirrored screen to people in the classroom.
Do not close the AirMedia app while connected.
Step 7: Disconnect when done
Disconnect so your device isn’t projected accidently after you leave the room.
- Open the AirMedia app
- Tap Dock or Stop Presentation with AirMedia. to stop presenting but remain connected to the AirMedia receiver.
- Tap Disconnect or Disconnect from AirMedia to stop presenting from the Android device and disconnect from the receiver.
- Tap Dock or Stop Presentation with AirMedia. to stop presenting but remain connected to the AirMedia receiver.

Still need help?
Contact the UBIT Help Center.